Many commands only work with administrator rights: sfc /scannow, DISM, chkdsk, editing the hosts file or installing a PowerShell module for all users. Open Command Prompt the normal way and you get "Access is denied" or "The requested operation requires elevation". This article shows six ways to open Command Prompt (cmd), PowerShell or Windows Terminal as administrator in Windows 11 and Windows 10, how to check that it worked, and what to do when the option is missing.
Quick overview
| Method | How | Windows 10 | Windows 11 |
|---|---|---|---|
| Start menu | Search cmd > Run as administrator | Yes | Yes |
| Keyboard shortcut | Search cmd > Ctrl + Shift + Enter | Yes | Yes |
| Win + X menu | Terminal (Admin) or Windows PowerShell (Admin) | Yes | Yes |
| Run dialog | Win + R, type cmd, Ctrl + Shift + Enter | Yes | Yes |
| Task Manager | Run new task with administrative privileges | Yes | Yes |
| sudo | sudo for a single command | No | From 24H2 |
Method 1: from the Start menu
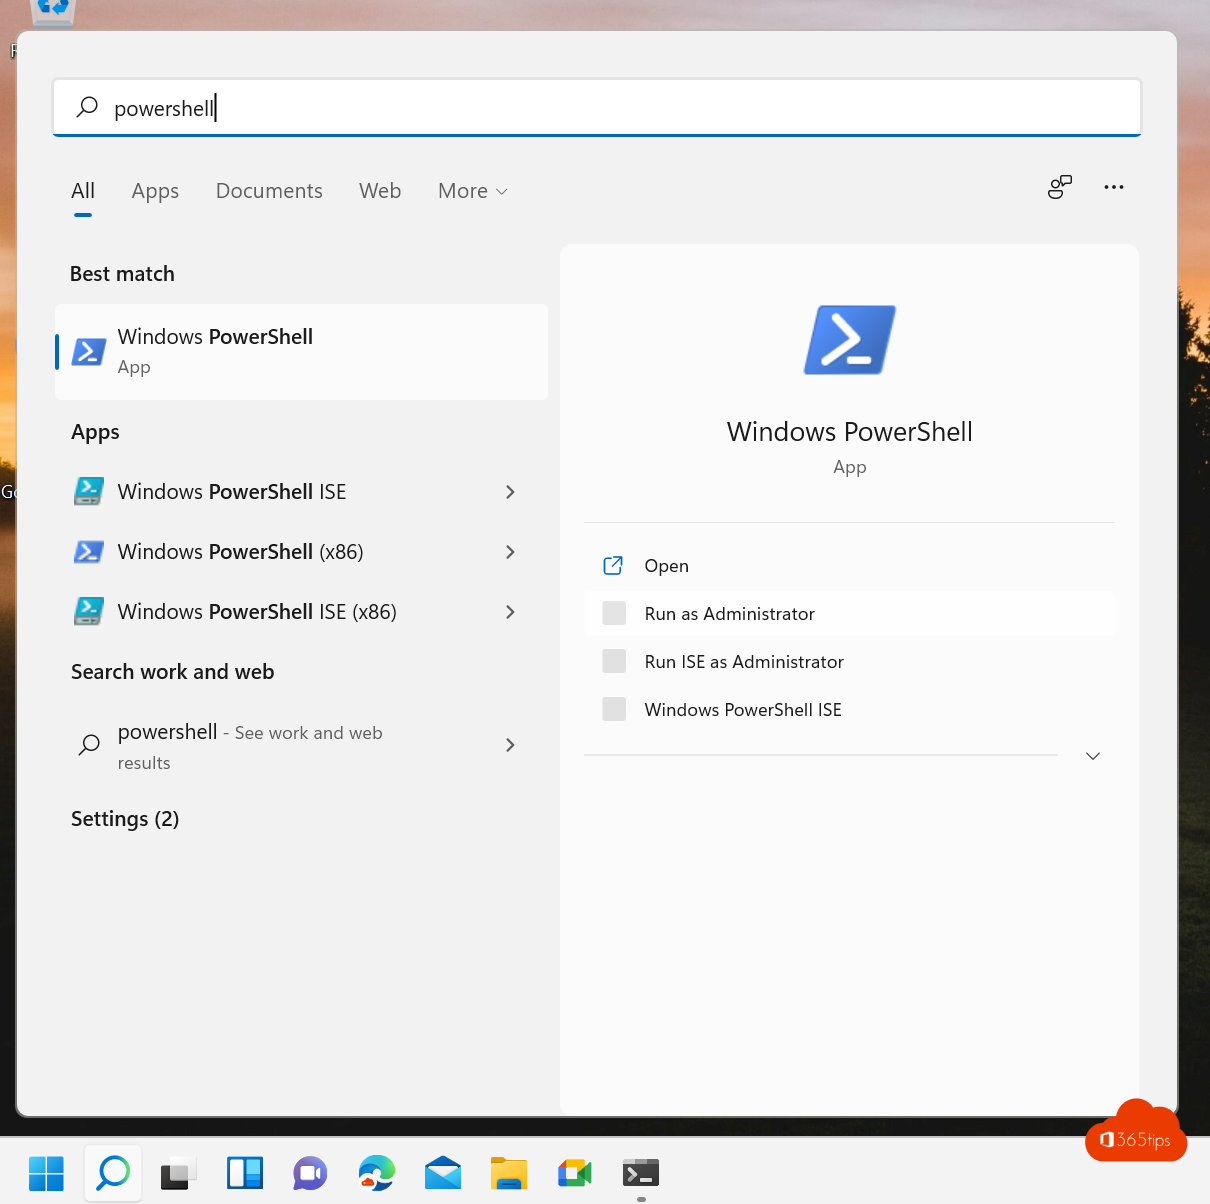
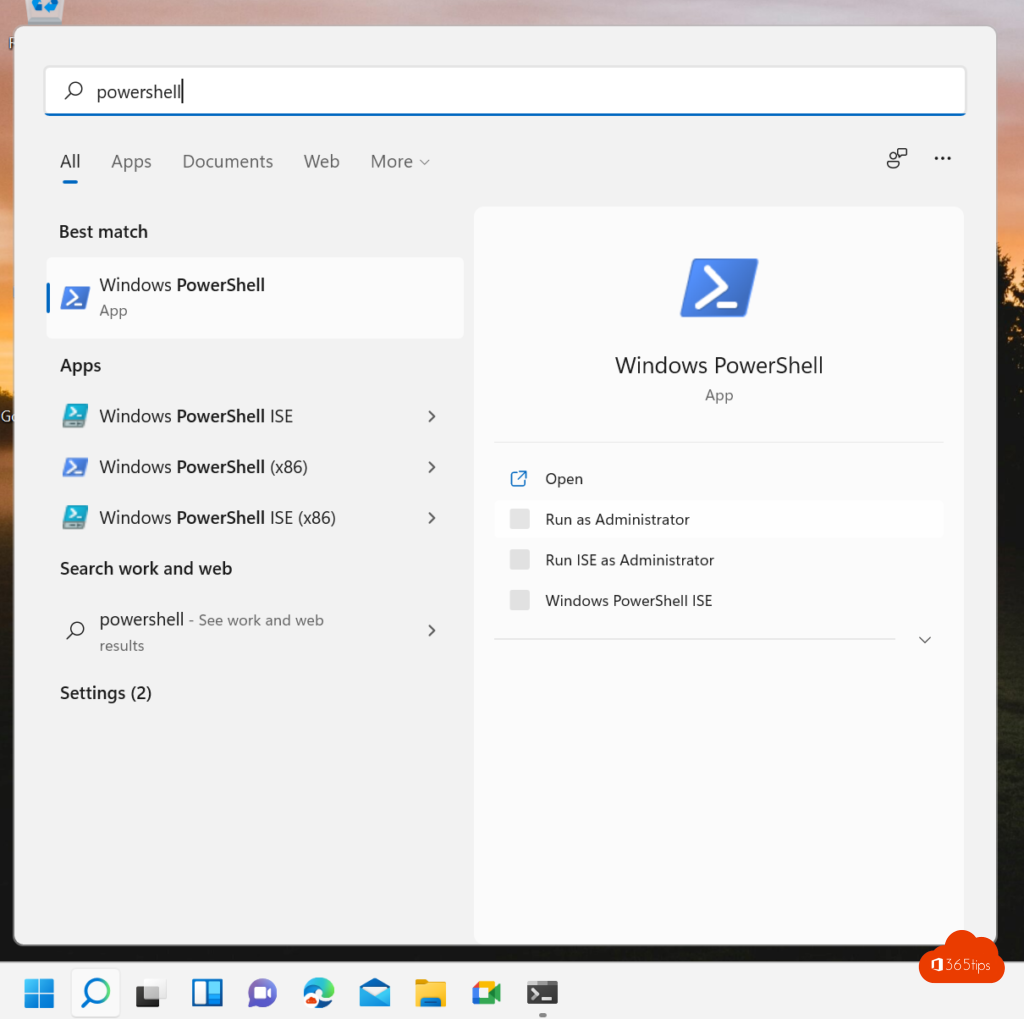
- Click Start or press the Windows key.
- Type
cmd(orcommand prompt). - Click Run as administrator on the right of the search results. You can also right-click Command Prompt.
- Click Yes in the User Account Control (UAC) prompt.
The same works for powershell and terminal.
Method 2: the Ctrl + Shift + Enter shortcut
The fastest way without a mouse: press the Windows key, type cmd and press Ctrl + Shift + Enter instead of just Enter. Windows immediately shows the UAC prompt. Click Yes to confirm.
Method 3: the Win + X menu
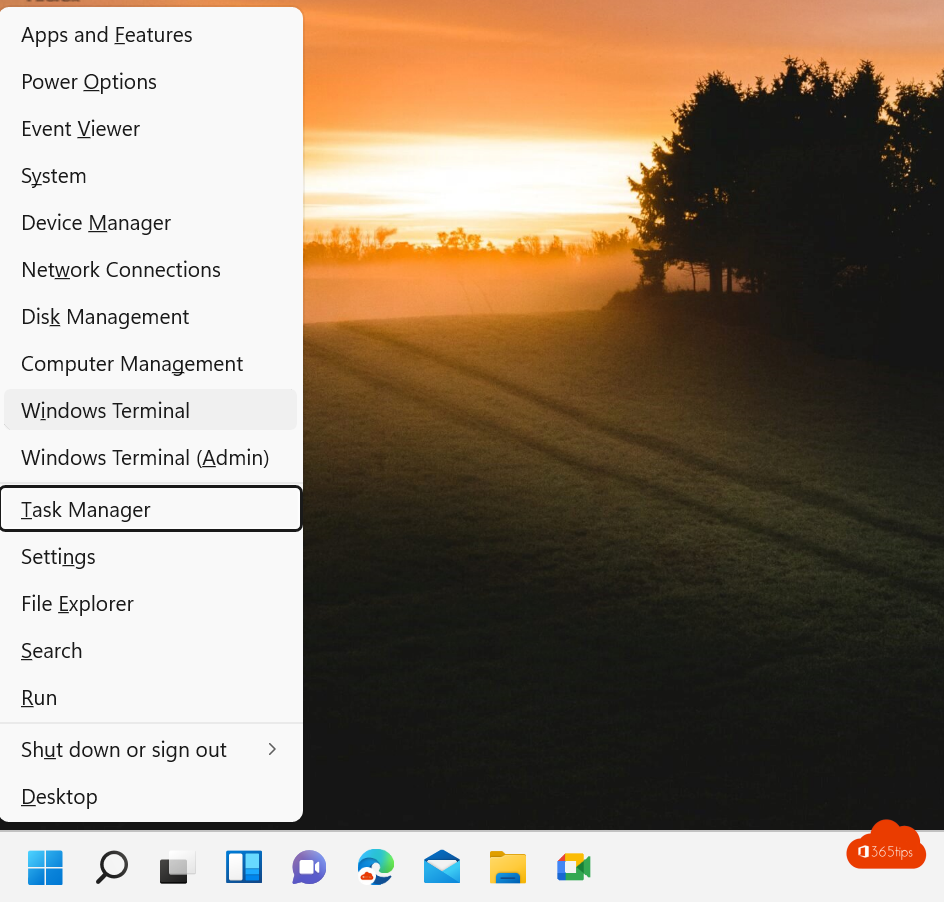
Press Windows + X (or right-click the Start button).
- Windows 11: choose Terminal (Admin). Windows Terminal opens with PowerShell by default. Want the classic Command Prompt? Click the arrow next to the tab and choose Command Prompt, or press
Ctrl + Shift + 2(with the default profile order). That new tab also runs as administrator. - Windows 10: choose Windows PowerShell (Admin). To see Command Prompt here instead, go to Settings > Personalization > Taskbar and turn off the option that replaces Command Prompt with Windows PowerShell.
Method 4: the Run dialog
- Press Windows + R.
- Type
cmd(orpowershell, orwtfor Windows Terminal). - Press Ctrl + Shift + Enter. Plain Enter or OK opens the window without administrator rights.
Method 5: Task Manager
Useful when the Start menu or File Explorer hangs.
- Open Task Manager with Ctrl + Shift + Esc.
- Click Run new task (in Windows 10: File > Run new task).
- Type
cmdand tick Create this task with administrative privileges. - Click OK.
Method 6: sudo in Windows 11 (24H2 and later)
Since the Windows 11 2024 Update (version 24H2), Windows has its own sudo command, like Linux and macOS. It runs a single command with administrator rights from a normal window.
- Open Settings > System > For developers.
- Turn on Enable sudo.
- Choose how sudo runs applications: in a new window, with input disabled or inline (in the same window).
Then type, for example:
sudo sfc /scannow
sudo notepad C:\Windows\System32\drivers\etc\hosts
You still get a UAC prompt, but you no longer need to open a separate admin window. In a company environment your administrator can turn sudo off by policy; the option is then greyed out.
How do you know you are running as administrator?
- The title bar starts with Administrator:.
- The default folder is
C:\Windows\System32instead ofC:\Users\yourname. - Type
net session. If you get "Access is denied", you are not running as administrator. - In PowerShell this returns
Truewhen you are an administrator:([Security.Principal.WindowsPrincipal][Security.Principal.WindowsIdentity]::GetCurrent()).IsInRole([Security.Principal.WindowsBuiltInRole]::Administrator)
Always open Windows Terminal as administrator
If you often need administrator rights, you can make a Windows Terminal profile start elevated by default:
- Open Windows Terminal and press
Ctrl + ,(settings). - Pick the profile on the left, for example Command Prompt.
- Turn on Run this profile as Administrator and click Save.
Use this sparingly: everything you start in that window has full rights on your computer.
Troubleshooting
- UAC asks for a user name and password: your account is a standard account. You need the credentials of an administrator account, or ask your IT department.
- "Run as administrator" is missing or does nothing: on managed company PCs this can be blocked through Intune or Group Policy. That is on purpose; contact IT.
- "The requested operation requires elevation": the window runs without administrator rights. Close it and open it again with one of the methods above.
- A network drive is missing in the admin window: drives mapped as a normal user are not visible in an elevated window. Use the full path (
\\server\share) or map the drive again.
Next: installing PowerShell modules
A common reason to open PowerShell as administrator is installing modules for all users, such as the Microsoft Teams or Exchange Online module.
Read also
How to edit the hosts file in Windows 11 and Windows 10
Turn Windows features on or off in Windows 11 and 10: 4 ways
Find and delete large files in Windows 11 and 10: 5 ways
Nederlandstalige versie: Opdrachtprompt als administrator uitvoeren in Windows 11 en 10: 6 manieren