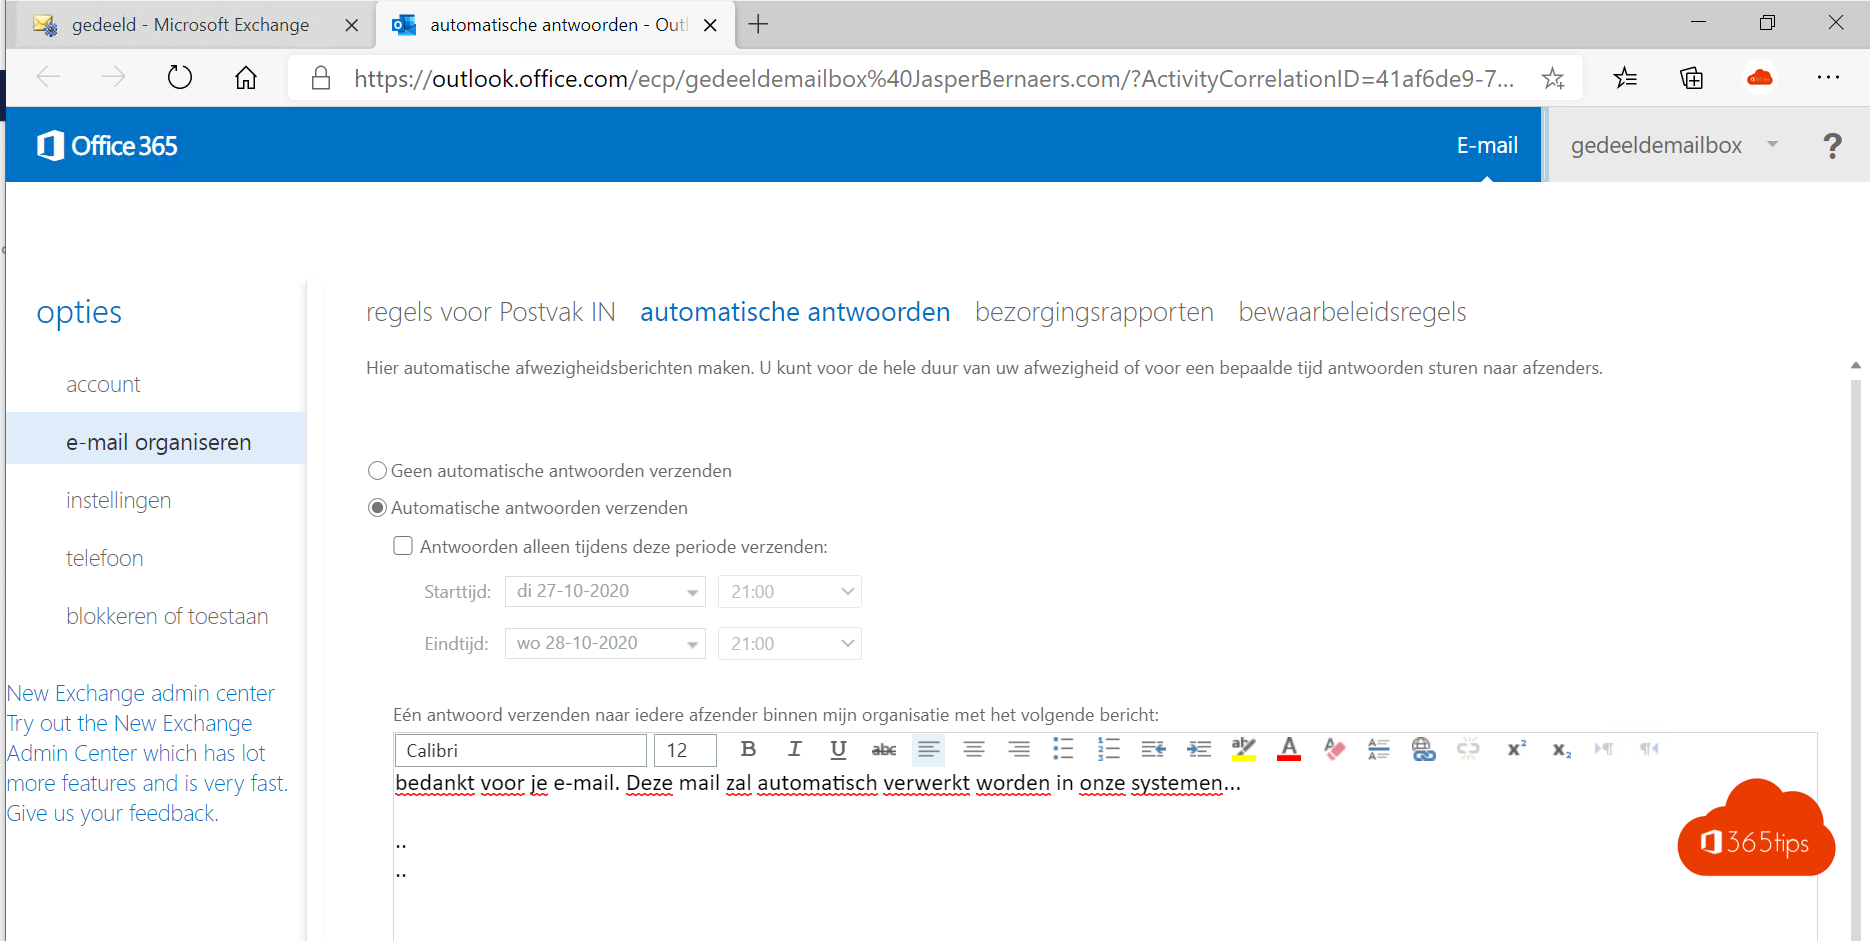
Is your team closed for a few days, or do you want customers who e-mail info@ or support@ to know when to expect an answer? Then set an automatic reply (out of office) on the shared mailbox. This article shows four ways: the Microsoft 365 admin center, the Exchange admin center, Outlook on the web and PowerShell.
outlook.office.com/ecp) with its "Another user" option, used in many older guides, has not existed since June 2024. The methods below work today.Which method should you use?
| Method | What you need | Best when |
|---|---|---|
| Microsoft 365 admin center | An admin role (for example Exchange Administrator) | You want to change one mailbox quickly |
| Exchange admin center | Exchange Administrator | You already work in Exchange |
| Outlook on the web | Full Access to the shared mailbox | You are not an administrator |
| PowerShell | Exchange Administrator | You want to schedule a period or change several mailboxes at once |
Method 1: the Microsoft 365 admin center
- Sign in to the Microsoft 365 admin center.
- Go to Teams & groups > Shared mailboxes.
- Click the shared mailbox. A pane opens on the right.
- Under Automatic replies, click Edit.
- Turn on automatic replies, optionally choose a start and end date, and enter a message for people inside and outside your organization.
- Click Save.
Method 2: the Exchange admin center
- Sign in to the Exchange admin center.
- Go to Recipients > Mailboxes and look up the shared mailbox.
- Click the mailbox and open the Others tab in the pane on the right.
- Under Automatic replies, click Manage automatic replies.
- Set the message and optionally the period, and click Save.

Method 3: Outlook on the web (no admin rights)
Not an administrator, but you have Full Access to the shared mailbox? Then you can set the automatic reply yourself:
- Open Outlook on the web.
- Click your profile picture at the top right and choose Open another mailbox.
- Type the address of the shared mailbox, for example info@yourcompany.com, and click Open. The shared mailbox opens in a new tab.
- In that tab, go to Settings > Mail > Automatic replies.
- Turn on Turn on automatic replies, enter your message and click Save.
Make sure you really are in the shared mailbox's tab and not in your own mailbox. Otherwise you set the out of office on your own address.

Method 4: PowerShell
With PowerShell you schedule an automatic reply to the minute, or change several mailboxes at once. Connect to Exchange Online first:
Connect-ExchangeOnlineThen turn on the automatic reply for a set period:
Set-MailboxAutoReplyConfiguration -Identity "info@yourcompany.com" `
  -AutoReplyState Scheduled `
  -StartTime "2026-12-24 17:00" -EndTime "2027-01-02 08:00" `
  -InternalMessage "We are closed until 2 January." `
  -ExternalMessage "Thank you for your message. We are closed until 2 January and will reply as soon as possible after that." `
-ExternalAudience All-AutoReplyState:Enabled(on now),Scheduled(between start and end time) orDisabled(off).-ExternalAudience:All(everyone outside your organization),Known(only your contacts) orNone(colleagues only).
Check and turn it off again:
Get-MailboxAutoReplyConfiguration -Identity "info@yourcompany.com"
Set-MailboxAutoReplyConfiguration -Identity "info@yourcompany.com" -AutoReplyState Disabled
Tips for a good automatic reply
- Say when you are back and who people can reach for urgent matters.
- Write a separate message for external senders. Colleagues may get more detail than customers.
- Schedule it in advance with a start and end date, so you don't forget to turn it off.
- Each sender gets the reply once per period, not with every e-mail. If you change the message, that list starts over.
- Test it by sending an e-mail to the shared mailbox from another address.
Automatic reply not working?
- No reply to external senders: check that the external message is on and that the audience is All rather than Known.
- You don't see the option in Outlook on the web: you probably only have read or Send As permissions, not Full Access. Ask your administrator for Full Access, or have the administrator set it up with method 1 or 2.
- The message is on your own mailbox instead of the shared one: turn it off in your own settings and set it again from the shared mailbox's tab.
- The reply does not come a second time: that is normal; each sender gets it only once per period.
Looking for an out of office for Teams? Read how to set an out of office and status message in Microsoft Teams.
Read also
How to set out of office and a status message in Microsoft Teams
All Microsoft 365 admin portals in one list: the right URLs in 2026
Security defaults in Microsoft Entra ID: what they do and how to enable them
Nederlandstalige versie: Out of office instellen op een gedeelde mailbox in Microsoft 365